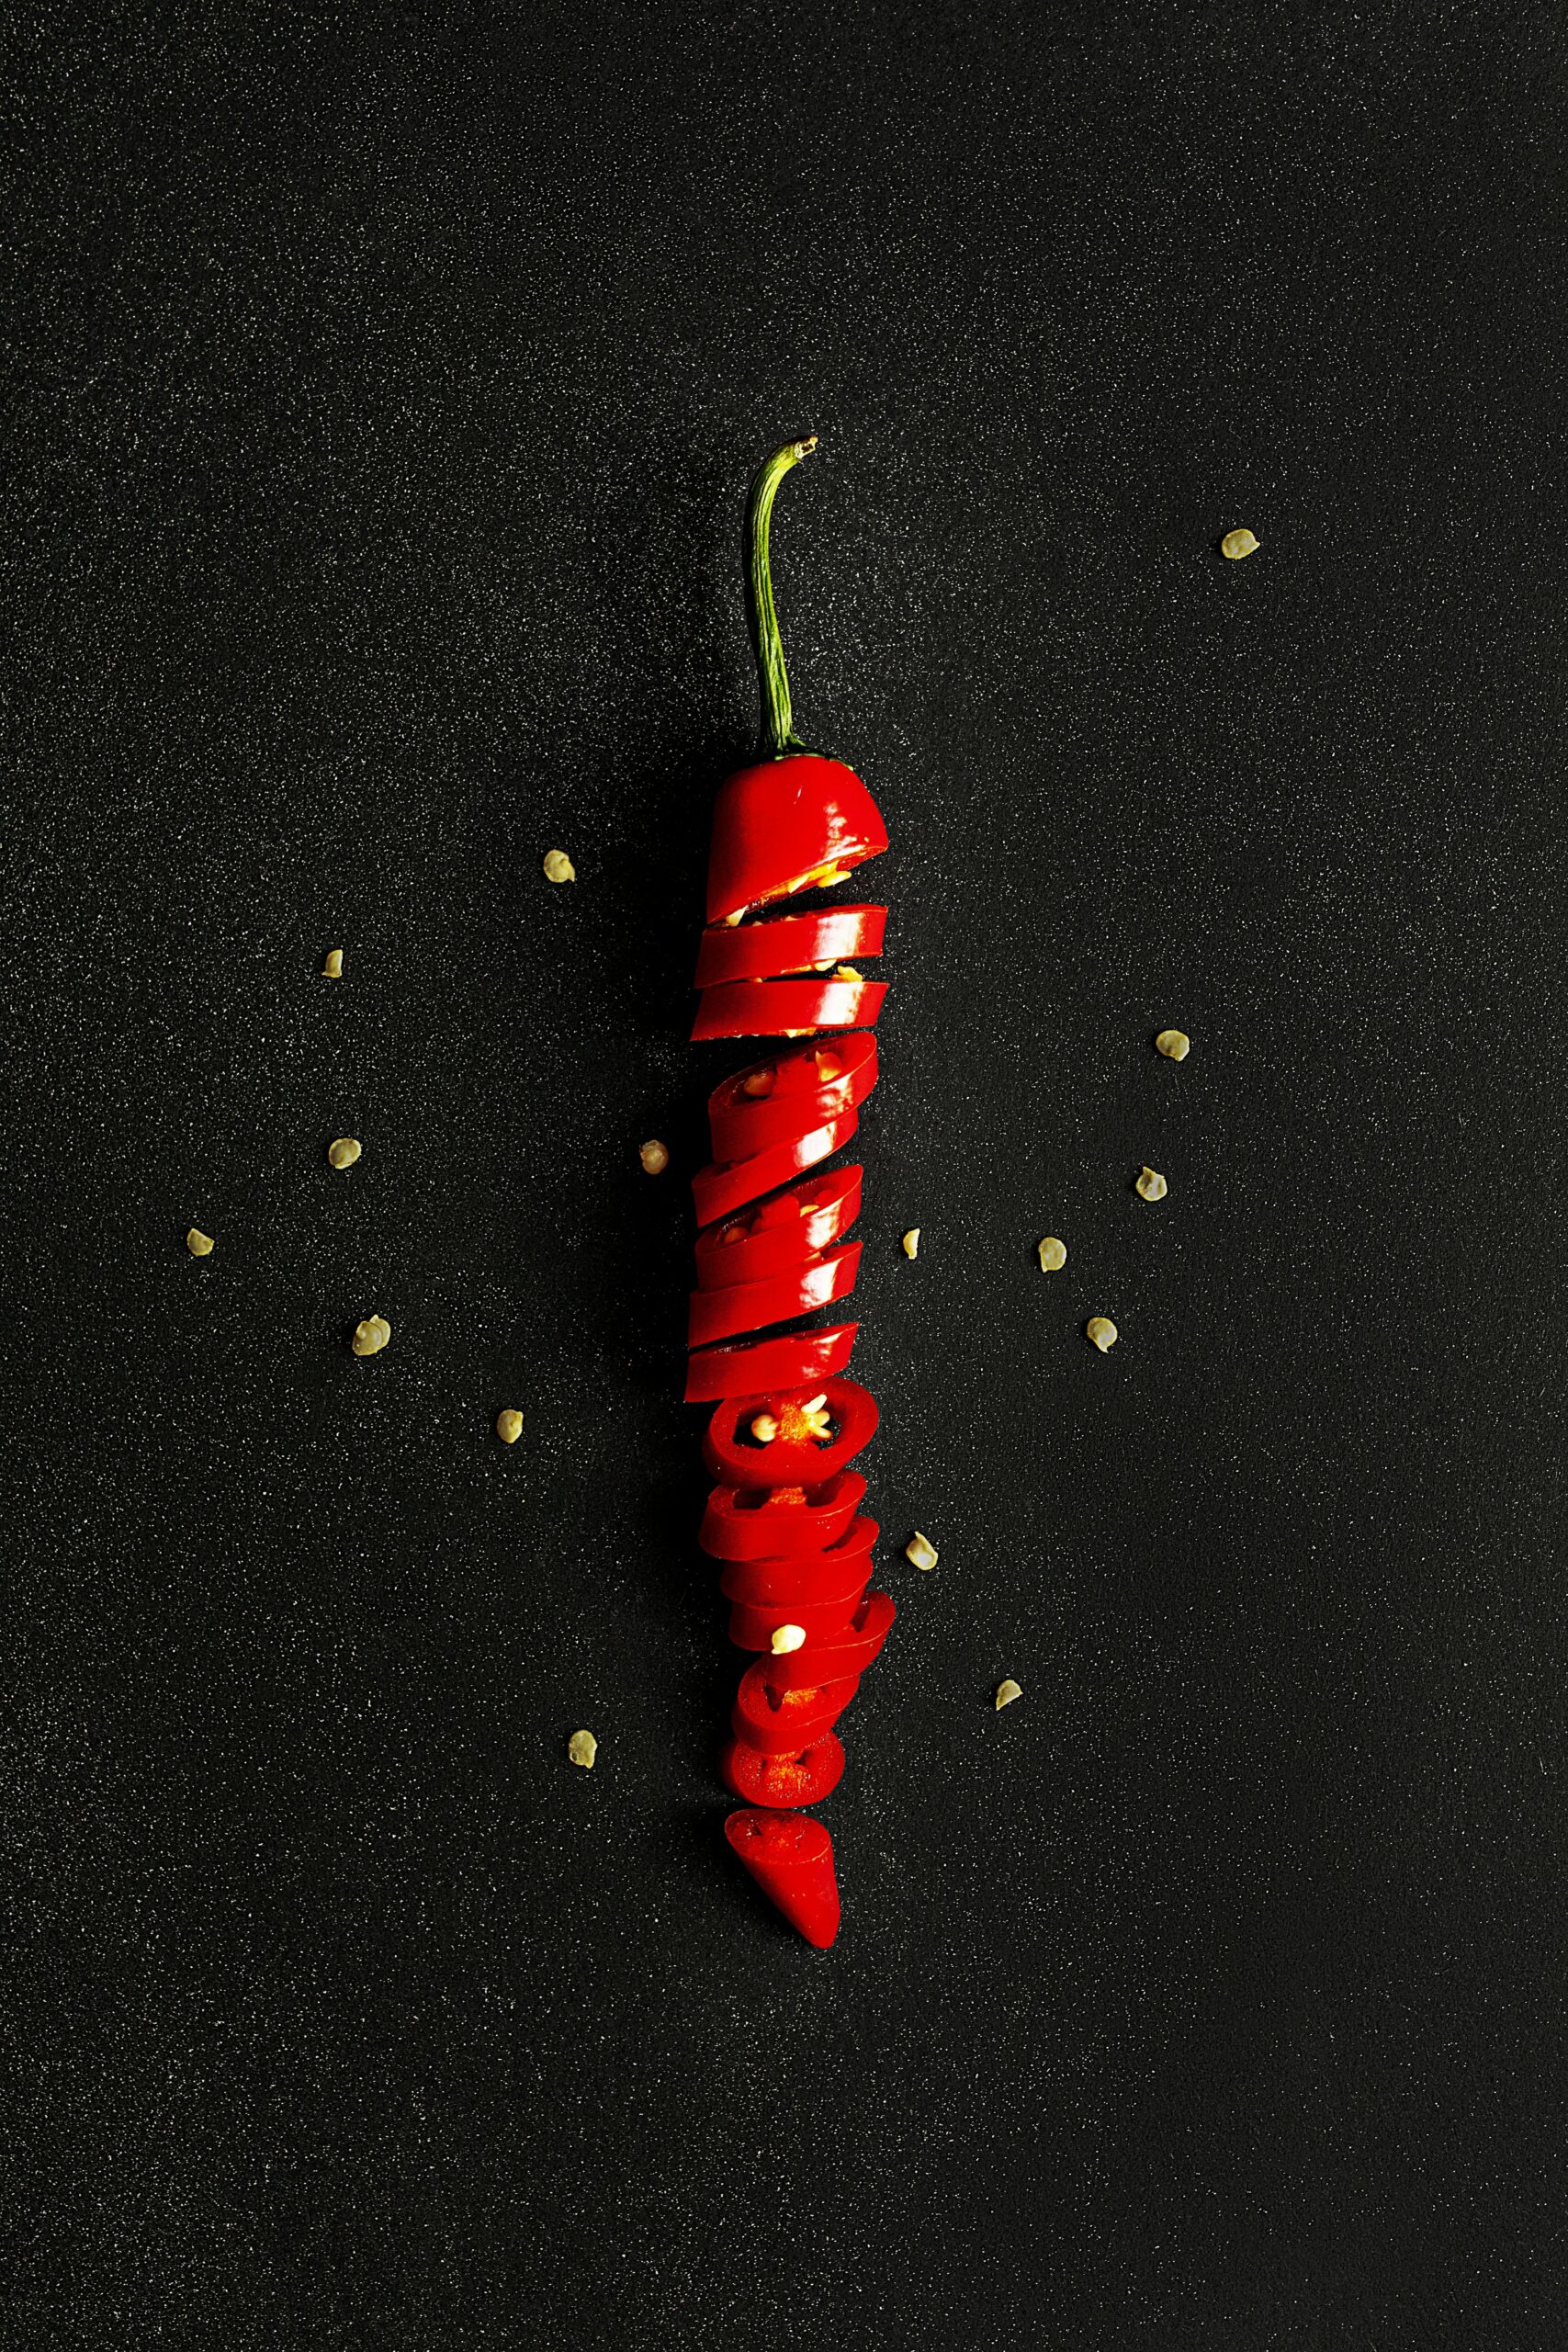
Chili peppers add a fiery kick to culinary creations and bring vibrant color to any garden. Growing your own chili peppers from seed is a rewarding and straightforward endeavor that allows you to savor the satisfaction of cultivating these spicy gems from scratch. Whether you’re a seasoned gardener or a novice with a green thumb, here’s a comprehensive guide on how to grow your own chili peppers from seed:
Selecting the Right Chili Pepper Varieties
Before you start sowing seeds, consider the variety of chili peppers you want to grow. With countless options ranging from mild to scorching hot, there’s a chili pepper variety to suit every palate. Popular choices include jalapeño, serrano, habanero, Thai chili, and bell peppers. Choose varieties that thrive in your climate and match your desired level of heat.
Sourcing Quality Seeds
Acquiring high-quality chili pepper seeds is essential for successful germination and robust plant growth. Purchase seeds from reputable seed suppliers, nurseries, or online retailers specializing in heirloom and organic seeds. Opt for fresh seeds from the most recent growing season to maximize their viability.
Germinating Chili Pepper Seeds
Start by germinating your chili pepper seeds indoors several weeks before the last frost date in your area. Fill seed trays or small pots with a well-draining seed starting mix, moisten the soil, and sow the seeds approximately ¼ inch deep. Place the trays in a warm, sunny location or use a seedling heat mat to maintain optimal germination temperatures (around 70-80°F or 21-27°C). Keep the soil consistently moist but not waterlogged.
Providing Optimal Growing Conditions
Once your chili pepper seeds have germinated and developed into seedlings with true leaves, it’s time to provide them with optimal growing conditions. Transfer the seedlings to larger pots filled with nutrient-rich potting soil, ensuring adequate drainage. Place the pots in a sunny location or provide supplementary lighting with grow lights to promote healthy growth and flowering.
Watering and Fertilizing
Consistent watering is crucial for chili pepper plants, but it’s essential to avoid overwatering, which can lead to root rot. Water the plants deeply when the top inch of soil feels dry, allowing excess water to drain away freely. Fertilize your chili pepper plants regularly with a balanced fertilizer formulated for vegetables, following the manufacturer’s recommendations for dosage and frequency.
Transplanting Seedlings Outdoors
Once the danger of frost has passed and the weather has warmed, transplant your chili pepper seedlings outdoors into well-prepared garden beds or containers. Choose a sunny location with fertile, well-drained soil and space the plants according to their mature size, typically 18-24 inches apart. Harden off the seedlings by gradually exposing them to outdoor conditions over the course of a week before transplanting.
Cultivating and Harvesting Chili Peppers
As your chili pepper plants mature, provide them with adequate water, sunlight, and occasional pruning to encourage bushy growth and prolific fruiting. Most chili pepper varieties require around 70-90 days from transplanting to produce ripe peppers. Harvest the peppers when they reach their desired size and color, using scissors or pruning shears to snip them from the plant. Enjoy your homegrown chili peppers fresh, dried, or preserved in sauces, salsas, and marinades.
“Growing your own chili peppers from seed is a gratifying journey that allows you to experience the thrill of cultivating spicy treasures right in your own backyard. By selecting the right varieties, sourcing quality seeds, providing optimal growing conditions, and nurturing your plants from seed to harvest, you can enjoy a bountiful harvest of homegrown chili peppers bursting with flavor and heat. So roll up your sleeves, gather your gardening tools, and get ready to spice up your garden with a vibrant array of chili peppers grown from seed. Happy gardening and fiery feasting!”
